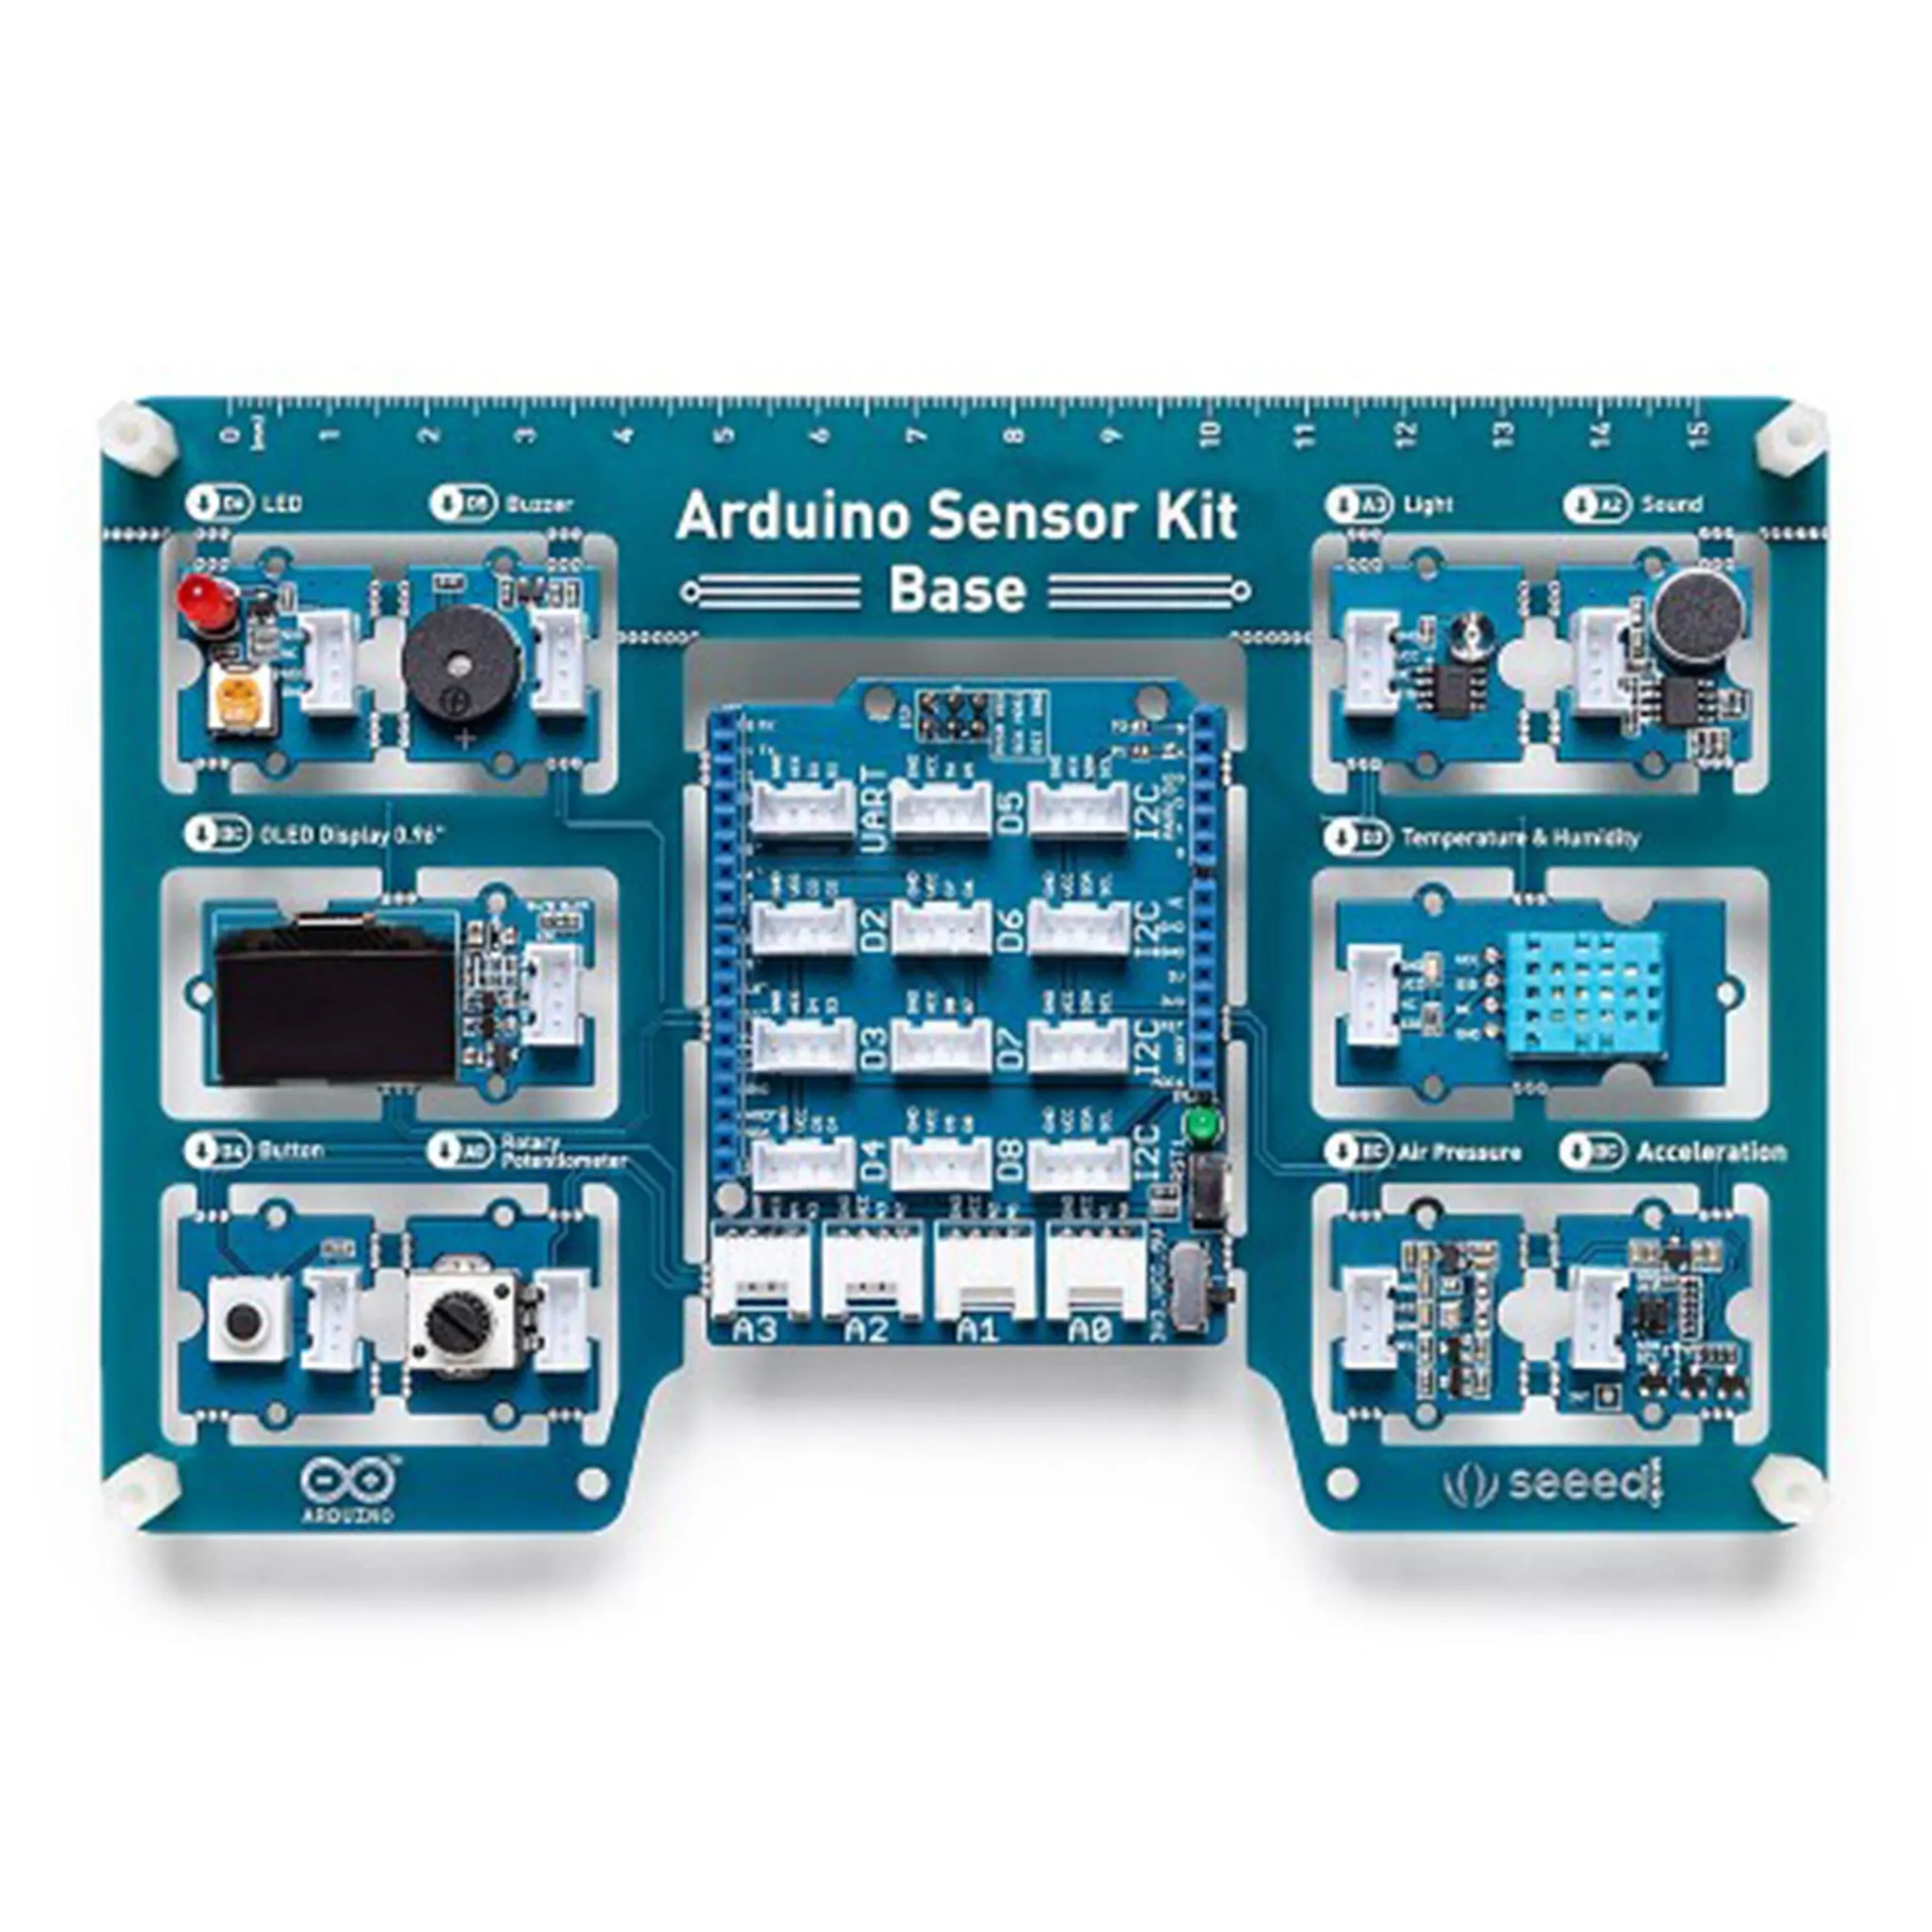
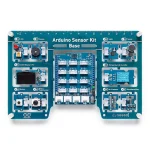
Arduino Sensor Kit Base Shield
Learn to use Groove sensors with your Arduino:
All modules are pre-installed on the PCB. All you have to do is connect your Arduino board and start your projects.
The Arduino Sensor Kit was created for Makers who are just starting to use Arduino to explore the vast space of electronics and programming.
The Arduino Sensor Kit Base Shield guides you completely to successfully connect and program your Groove sensors
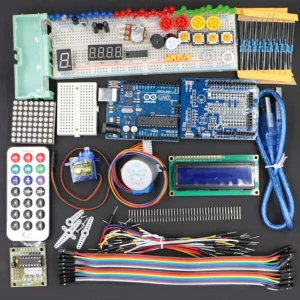
The Groove Arduino Sensor Kit Base Shield is a series of open-source tools. The kit includes a base to which sensors can be connected either individually or in combinations, to create imaginative and fun projects. All modules use the Groove connection type for very easy and direct connection to the Shield of the base. The Shield can be plugged directly onto the Arduino UNO board and programmed with the Arduino IDE.
The Arduino Sensor Kit Base Shield includes instructions on how to do all this
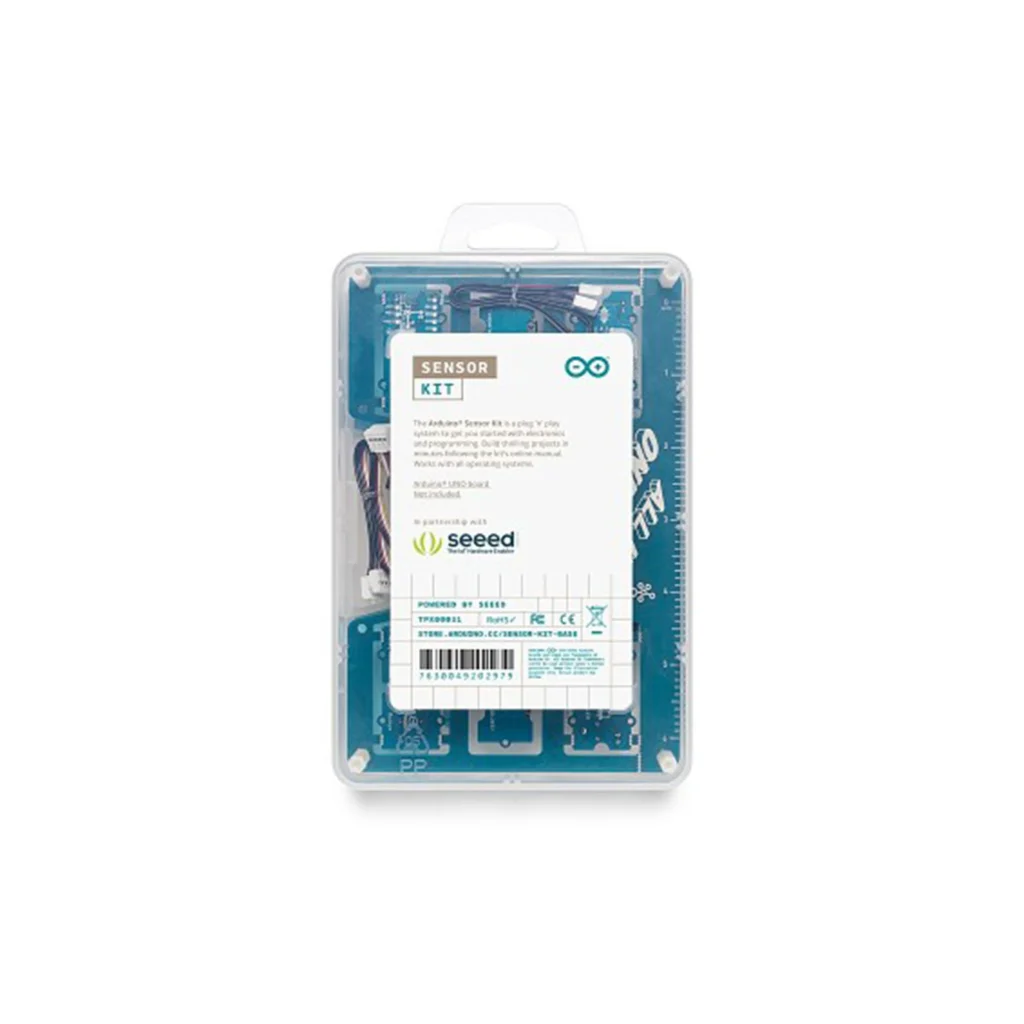
The kit has been created in collaboration with Seeed Studio and offers the Arduino community the ability to create projects with minimal wiring and coding effort. The kit includes access to an electronic platform with all the necessary instructions.
The Arduino UNO board is not included in the kit and is sold separately.
The Arduino Sensor Kit Base Shield is designed to fit on the surface of an Arduino UNO board. It is equipped with 16 grove headers, which, when placed on top of the UNO board, provide functionality to various pins. It includes:
- 7x digital connectors.
- 4x analog connectors.
- 4x I2C connections.
- 1x UART connection.
The 10 Grove modules included in the Arduino Sensor Kit Base Shield can be connected to the main shield, either via the digital, analog or I2C connections on the shield:
- The LED – a simple LED that can be turned on or off or adjusted in brightness.
- The button – a button that can be in either the HIGH or LOW state.
- The potentiometer – a variable resistor that increases or decreases resistance when you turn its knob.
- The buzzer – a piezo speaker used to produce binary sounds.
- The light sensor – a photoresistor that reads the intensity of light.
- The sound sensor – a tiny microphone that measures sound vibrations.
- The air pressure sensor – reads air pressure, using the I2C protocol.
- The temperature sensor – reads temperature and humidity simultaneously.
- The accelerometer – an orientation sensor, used to detect motion.
- The OLED display – a screen on which values or messages can be displayed.
- The 6 Grove cables allow you to easily connect the modules to the Base Shield without the need for soldering.
What is a sensor?
A A sensor is an electronic component that can measure – collect data from its environment. An example of a sensor is the DHT11 sensor, which measures temperature and humidity.
What is an actuator?
An actuator is an electronic component that performs an action. An example is an LED, which can be turned on or off or its brightness adjusted to a specific value.
What is a seeed module?
A seeed module is an electronic component attached to a tiny circuit board. This circuit board shares the same connector with all other seeed modules, which makes it easy to connect them.
What is a grove connector?
A grove connector is a connector with four wires attached to it. They simply connect to a seeed module and then to a basic seeed shield. This eliminates the time required to build circuits and allows you to connect several sensors in a matter of minutes!
How can I use sensors and actuators in Arduino projects?
To use seeed modules with an Arduino board, we need to have a seeed base shield mounted on an Arduino UNO board. Once mounted, we can easily connect any module we want and use the ArduinoSensorKit library to program them, using only a few lines of code!
Who can use the kit?
The kit is designed to be usable by even the most novice user. The code is easy to follow and the circuit is simplified through the use of seeed modules. The kit is also great for more advanced users who want to minimize circuit time and get their work done quickly!
How does the kit work?
The kit includes everything except the Arduino UNO (sold separately) to get it working. Simply place the base shield on the surface of an Arduino UNO module, connect a module and follow the instructions provided in the content platform. The platform explains how to do all of this and includes sample code to get you started with all of the different modules.
What’s included?
The content in this kit includes a Getting Started tutorial that walks you through the basics of the kit and the hardware and software requirements. Here are 10 easy-to-follow lessons to get you started right away with all the modules you see!
How do I access the included content?
All content can be found on the Arduino Sensor Kit Base Shield platform.